
The Case, and What Actually Fits
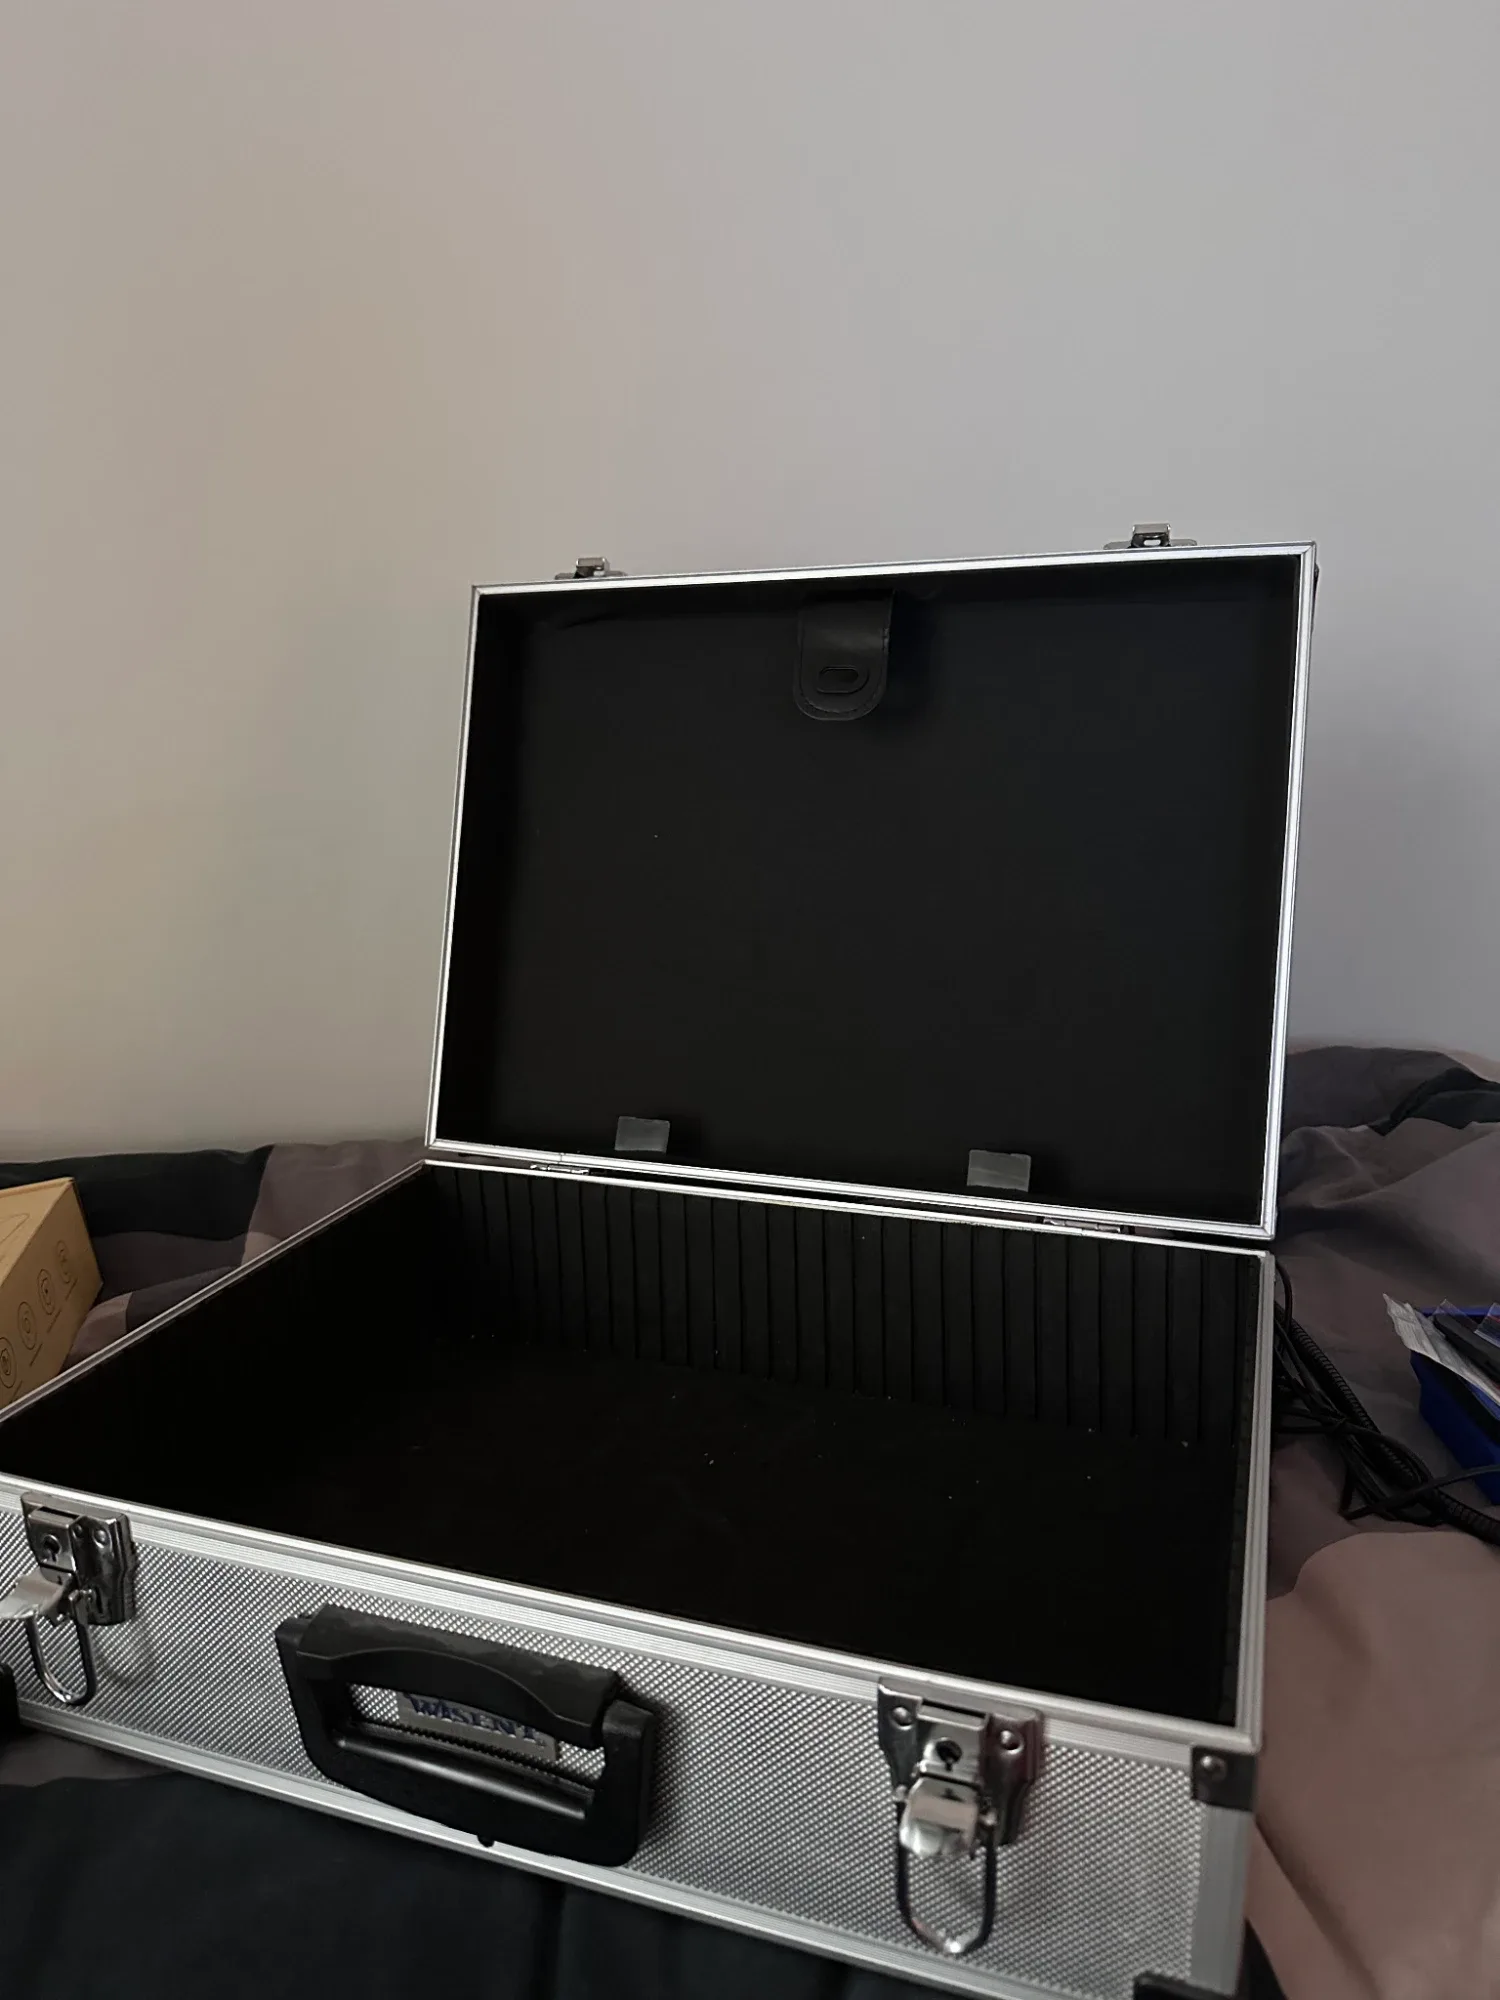
I want to build hardware, not just write the software that runs on it. Products of my own eventually, which means far more evenings with an iron in my hand than I currently get. There’s also a decent chance I’ll be working from different places for stretches, and a bench that only exists in one room doesn’t survive that.
So: the whole bench in a case. Plug in one cable, open the lid, and work. Close it and the project is still sitting there, half finished, exactly where it was. That last part matters as much as the portability does, because the thing that actually stops a project at home is having to clear the table.
Starting from a picture
Before measuring anything, I had an image generator draw me the thing I wanted.
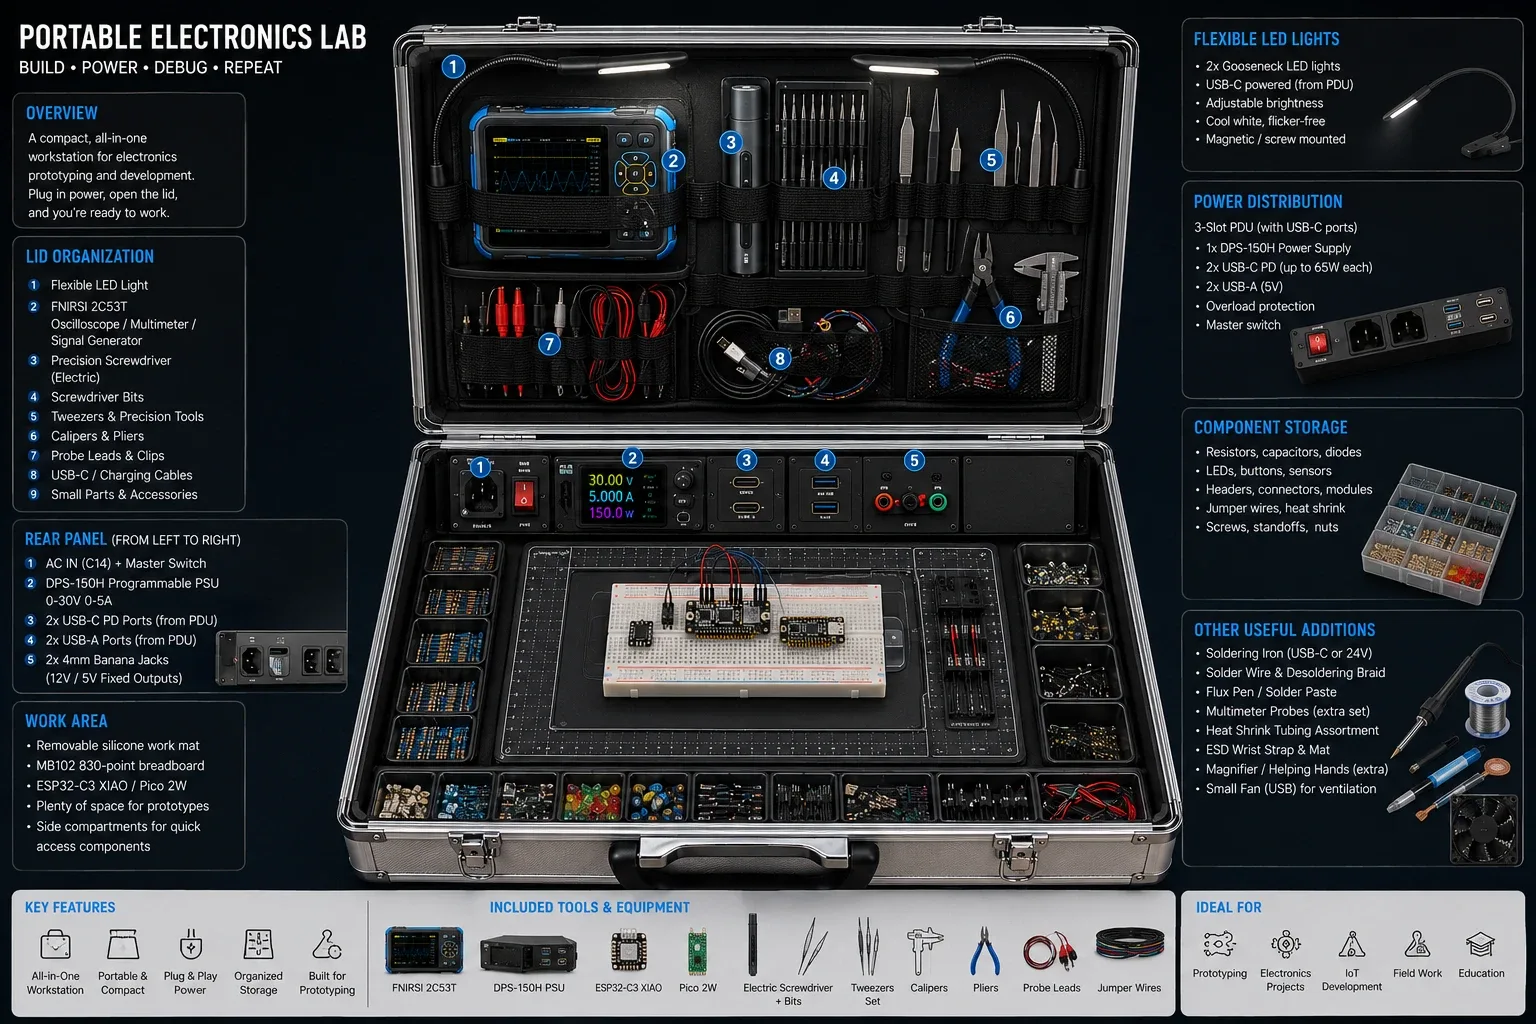
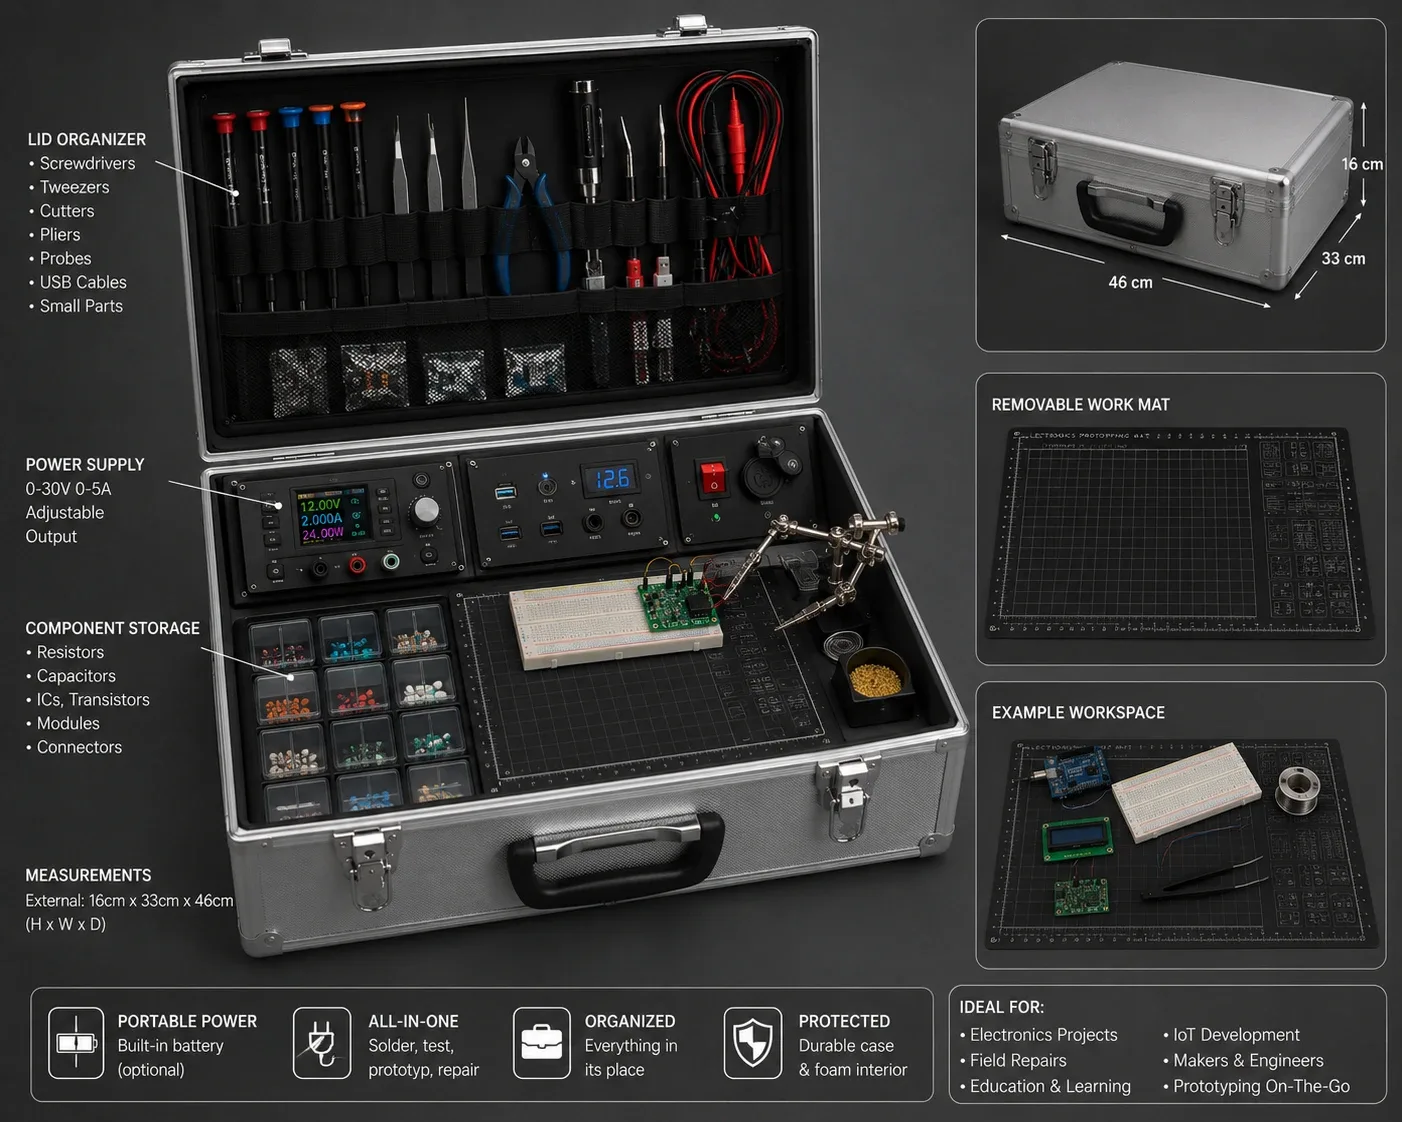
Both of these are generated. Neither is a design. They look far more like decisions than they are. A generator fills space with whatever is plausible, so it gave me a three slot PDU, banana jacks, an 830 point breadboard and a pair of magnetic gooseneck lamps. None of it came from me.
What they were good for is arguing with. Looking at them told me quickly which bits I actually wanted, which is roughly: power across the back, tools in the lid, parts down one side, and a flat area in the middle big enough to solder on. That much still holds. The specific instruments and the layout in the pictures do not.
Then the tape measure
The case is a Wisent aluminium tool case. It came as a set of three nested sizes and this is the largest of them. Bauhaus sells a newer version of the same set.
Here’s what’s actually inside it:
- Base: 44.5 cm wide, 31.5 cm deep, 10 cm from floor to rim
- Lid: 44.5 cm wide, 32 cm deep, 4.5 cm from lining to rim
That’s about 20 litres all in, and only 14 of it is in the base where anything heavy has to go.
The generated images had this wrong in every direction, and I had to correct almost every number by two to four centimetres once I had the case in front of me. More to the point, they show a case with room to spare. There’s no room to spare. 10 cm of depth is what decides the layout. It’s the height of the power supply plus whatever it sits on, or it’s the height of a work surface with storage underneath, and it isn’t both unless I’m careful.
What has to go in
- A lab power supply, adjustable, which is the deepest single item
- A soldering iron
- A gooseneck lamp, so the work area is lit without needing the room to be
- A third hand
- Component storage, small parts sorted rather than in a bag
- A flat area big enough to actually solder on
- Power distribution feeding all of it, from one inlet on the outside of the case
Most of that already exists and is listed on the tools page. What this build adds is a fixed home for each one, a power feed, and some chance of surviving being carried around.
Power is the part I’ve most firmly decided. There’ll be one mains inlet on the case, the same kind of socket a desktop PC uses, so it takes an ordinary kettle lead and nothing dangles. Behind that sits a distribution unit I already have, with three AC sockets and USB outputs on it. The FNIRSI bench supply is a separate box again, and it plugs into that distribution unit like everything else. One lead in, one switch, and the case is live.
What it has cost so far
| Item | Qty | Unit | Line |
|---|---|---|---|
| Wisent aluminium case set, three nested sizes — opens the supplier page in a new tabWhat I paid for the whole set. Only the largest case is in this build and the other two do other jobs, so read this as the cost of the box the project starts from. The link is to a newer version of the same set, not the one I bought. | 1× | €54.00 | €54.00 |
| Total | €54.00 |
One line, because the case is the only thing bought for this specifically. The bench supply, the iron, the third hand and the rest are already on the tools page and were bought to be used, not to live in a box. The distribution unit, the MakerBeam and the aluminium for the internal frame are here too, and I will price those in Part 3 when they are actually mounted and I know what got used.
The number I actually want to know is what the internal frame, the panel cutting and the connectors add up to. None of that has been bought yet.
Where it actually is
Early planning, and I’d rather say so than pretend otherwise. The case is bought and measured. I’ve got the distribution unit, the aluminium and MakerBeam parts for the internal frame, and I’ve printed a pegboard for the inside of the lid. Nothing is mounted, nothing is wired, and I haven’t committed to a layout.
Part 2 is the lid and that printed pegboard. It’s the easiest part of the case to get right, and a good place to find out how the printed fittings behave. Part 3 is the first real layout and the power distribution going in, which is where the 10 cm gets tested properly. I think it’ll take at least six parts before the case works as a bench. What parts four onward are, I don’t know yet.